
Connecting your laravel project to mysql database or any other relational database is fairly easy.
Since we have done the installation with XAMPP. It comes along with already installed mysql and phpmyadmin. In this tutorial I will make use of phpMyAdmin to create a new database that will connect to the laravel application.
- This post is assuming you already have a laravel project setup in your local and you are able to access it's homepage via localhost or custom set domain name.
Step 1 : Create a new database via PhpMyAdmin
Navigate to yourdomain.dev/phpmyadmin , Click on Databases tab and create a new database with your desired name.
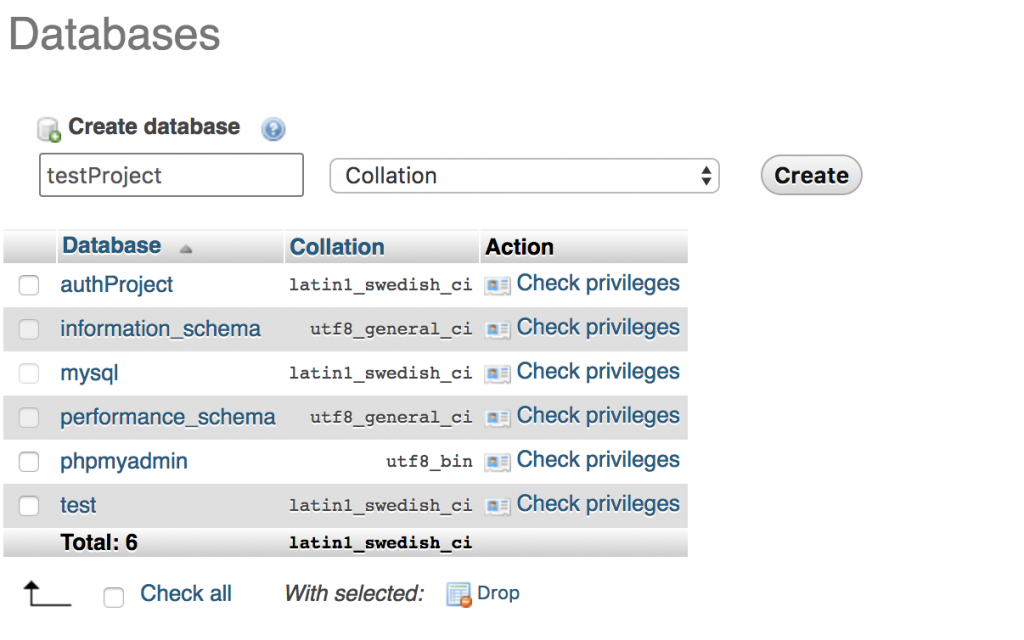
Clicking on create will create a new database in your XAMPP mysql.
Step 2: Changes in .env configuration file.
Once the database is created, you need to tell your laravel project the details about the database.
Laravel version 5 has a pretty easy way to do that, All your configuration that you should keep private and should not share goes into the .env file of your project.
DB_CONNECTION=mysql
DB_HOST=127.0.0.1
DB_PORT=3306
DB_DATABASE=testProject
DB_USERNAME=root
DB_PASSWORD=
Modify the following property in your .env file according to your database settings.
Step 3: Run migration (optional)
To test if you have successfully connected your Laravel project to the database you can run the migration command. Laravel project by default comes with some default table for storing users and their password request. When you run migrate command you it should create the default tables for you in the database.
php artisan migrateThat's it ! You are now ready to make database operations in your project.