
In this lesson, let's quickly go over how we can create a new Vue project using Vue CLI.
Here is how you do it.
Go in your terminal / command-line and execute the following command.
vue create hello-worldThe cool thing about this is that it provides you with an interactive process to choose the features you want in your new Vue Project.
You can either choose from the set of defaults or select the features manually.
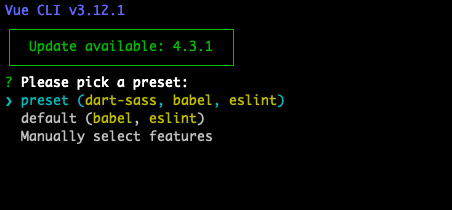
I am going to select the features manually.
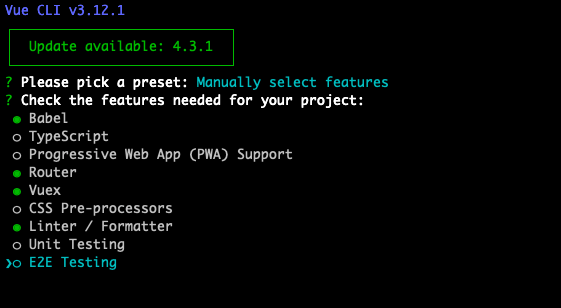
You can navigate between the options with your arrow keys and select the ones you want with the space-bar, go on to the next step by hitting enter.
Since we choose Linter as one of the features.
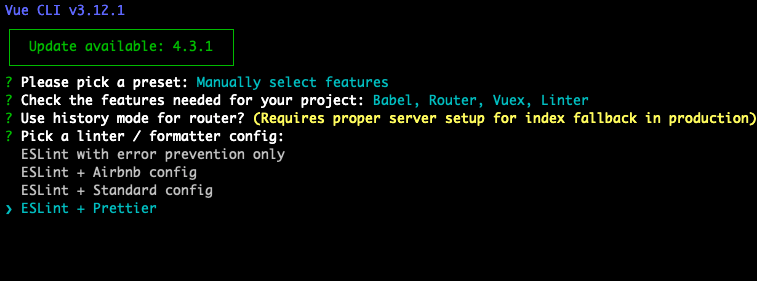
In the next step, Vue will ask which Linter we want to go with, I prefer ESLint + Prettier
Next thing is to choose how to apply linting. I choose lint on save.
Next Up, Vue CLI asks where do we want to place the config for Babel, PostCSS, and ESLint. Either in dedicated config files or everything in package.json file.
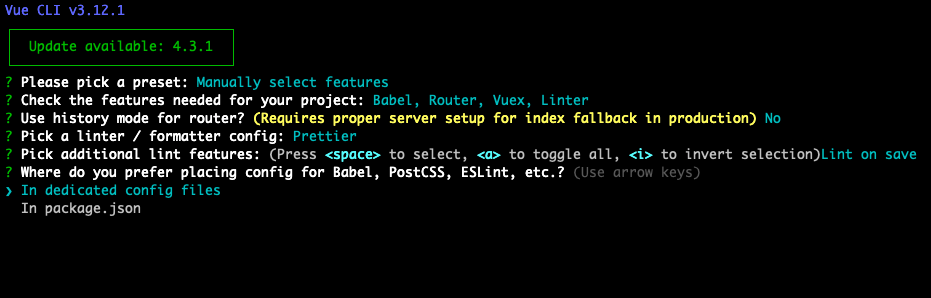
I choose dedicated config files.
Next, Vue CLI asks if you want to save these preset, so that next time you create a new Vue Project instead of selecting all these options again you can just select the saved preset and go along with it.
I chose No.
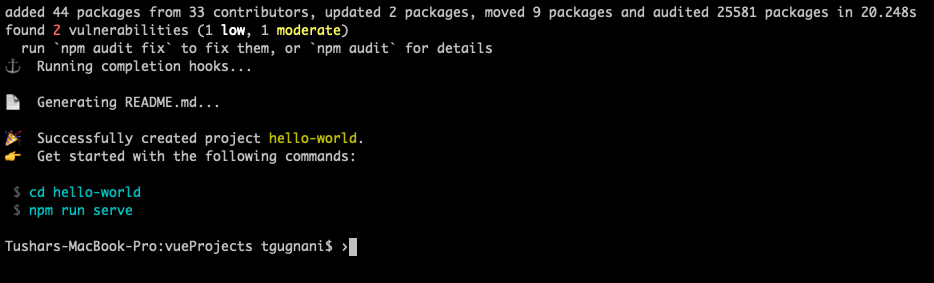
Vue CLI now starts downloading all the dependencies and starts creating a new Vue Project for me.

After a while, you should see a success message on your screen which denotes that the project is created.
Running the project.
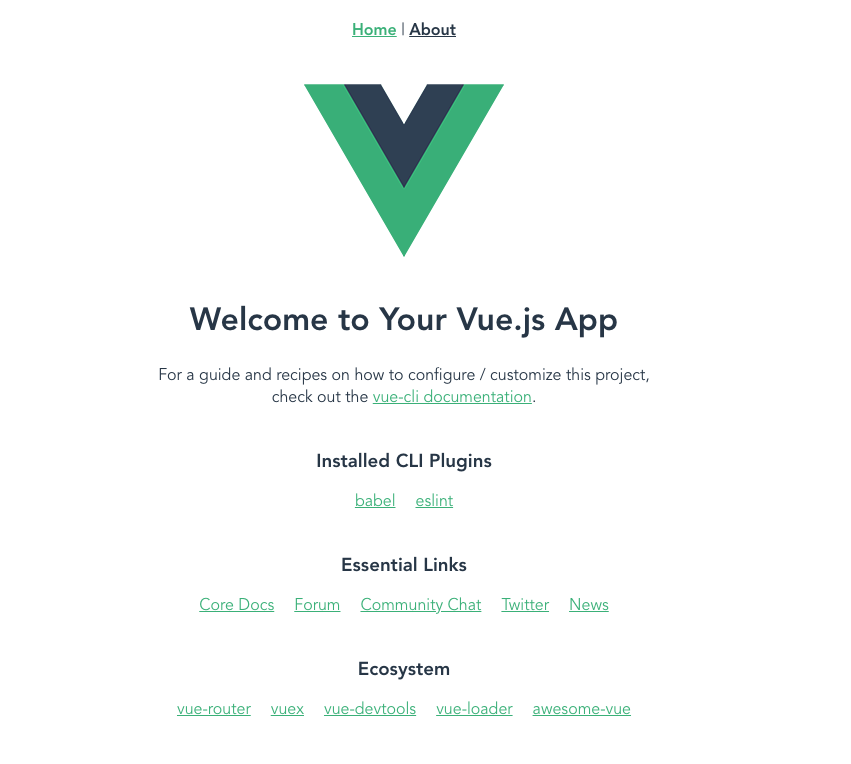
Now that the project is created, we can now run it. Navigate to the newly created project directory and execute the following command.
npm run serveThis command will build the project and spin up your application on the local development server.

We now have the application running at URL http://localhost:8080
That's all about creating and running a new Vue project using Vue-CLI