Requirements
- Windows Installed System.
Install XAMPP
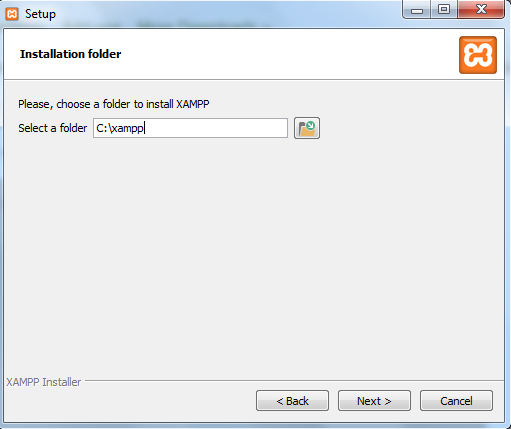
First of all we need to download and install XAMPP for Linux. Download it from the apache friends official website. Download the XAMPP version > 7.2.0 which contains PHP version 7.1.3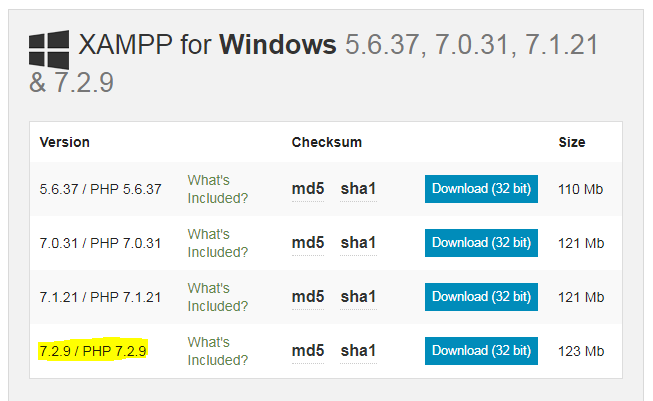 Follow the steps for XAMPP installation. For Windows, the default installation directory for XAMPP is C:\xampp
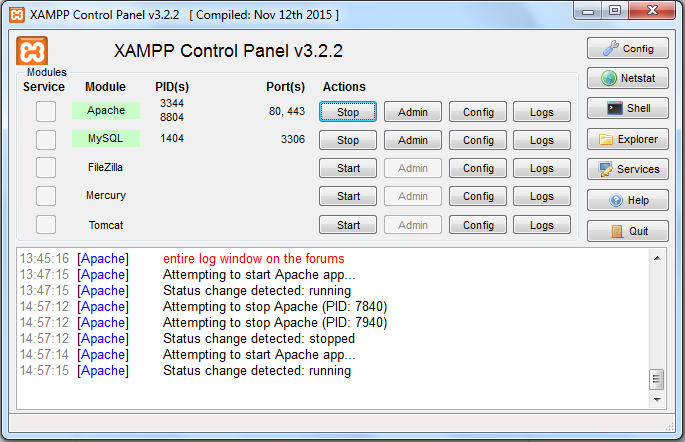
 Once the XAMPP is installed you should be able to access its manager console.
 If your XAMPP is correctly installed and apache web server if turned on in the xampp control panel, You should see this page when you access http://locahost in your browser.

Composer
Once you are done with XAMPP, it’s now time to setup Composer. Composer is a dependency management or package management tool which is integrated with Laravel Framework. Check by running composer command in your terminal if your system has composer already installed in it. If not you can install it by following this tutorial How to Install Composer on WindowsInstall Laravel Framework
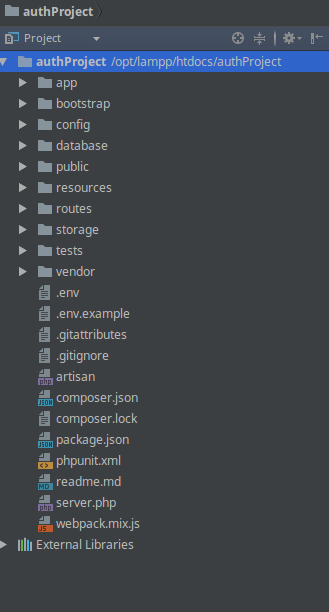
The default directory of XAMPP for installing or keeping PHP project is htdocs. Navigate to following directory in your terminal C:\xampp\htdocs and run following composer command to create a fresh Laravel 5.7 versioncomposer create-project laravel/laravel myProject "5.7.*" When it finishes it will create a Laravel 5.7 project with following data structure.
Run Laravel Project
Now, it's time to run the Laravel project that we have installed. There are couple of ways you can do this. #1 Artisan Command Artisan command are built into the Laravel library, and one of it's command it to serve the project on server. Navigate to the directory in which you have created your new laravel project and run following command.php artisan serve<VirtualHost laravel.local:80>
DocumentRoot "C:\xampp\htdocs\myProject\public"
ServerAdmin laravel.local
<Directory "C:\xampp\htdocs\myProject">
Options Indexes FollowSymLinks
AllowOverride All
Require all granted
</Directory>
</VirtualHost>127.0.0.1 laravel.local
Have Fun working with Laravel !
If you are looking for an updated tutorial that works with Laravel 5.8 and particularly gives details on setting up Laravel on Server checkout this tutorial -> Install Laravel.
Done with Laravel Setup, Go ahead and move to next step with the following tutorials.