Requirements
- PHP 7.2 or greater
- MySQL 5.6 or greater OR MariaDB 10.0 or greater
- The mod_rewrite Apache module
- HTTPS support
The above are the official requirements for a system to install Wordpress. Since in this tutorial we are using XAMPP to install Wordpress, XAMPP should take care of the requirements.
Setup XAMPP
First of all we need to download and install XAMPP. Download it from the
apache friends official website. Download the XAMPP version > 7.0.0 which contains PHP version 7.0.0
[caption id="attachment_1139" align="aligncenter" width="1024"]

XAMPP Official website download link[/caption]
Follow the steps to install the XAMPP. If you are on Linux Machine , the install location for XAMPP will be
/opt/lampp
Once the XAMPP is Installed, you should be able to access the XAMPP Console from where you can start or stop the necessary services.
[caption id="attachment_1138" align="aligncenter" width="668"]
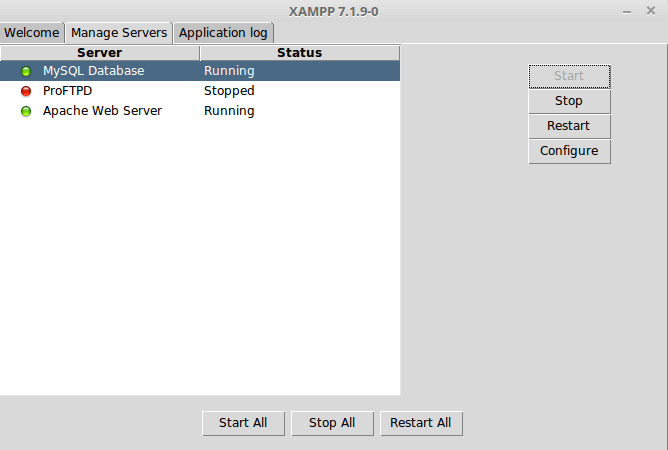
XAMPP Console Lunux[/caption]
If you XAMPP is installed correctly and if you have the apache service running under it.
You should see the following page when you access
localhost on your browser.
[caption id="attachment_1143" align="aligncenter" width="1024"]
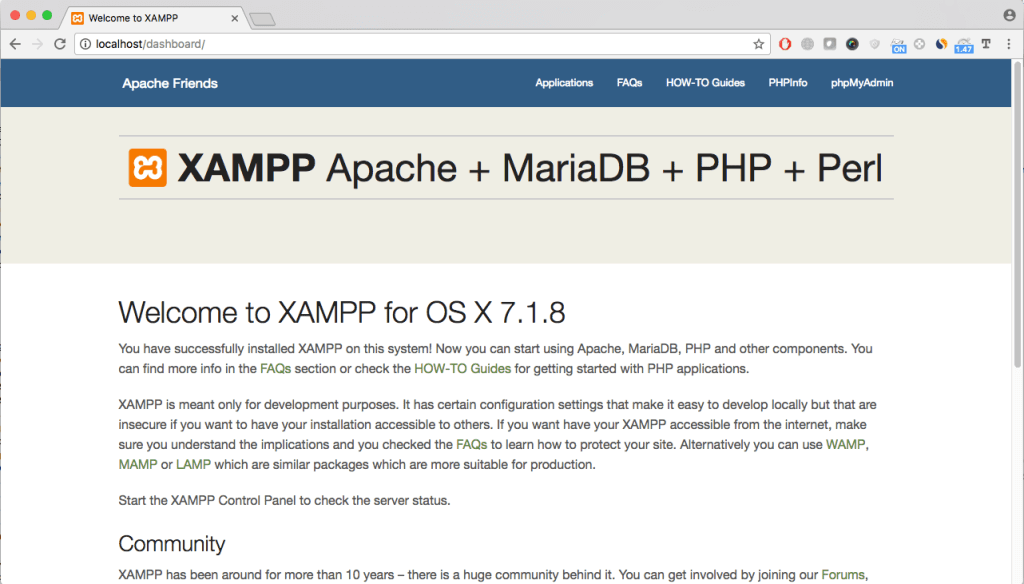
xampp localhost default page[/caption]
Download Wordpress
As the next step, Let's go ahead and download the latest release of Wordpress code from the
official Wordpress website.
[caption id="attachment_1140" align="aligncenter" width="1012"]
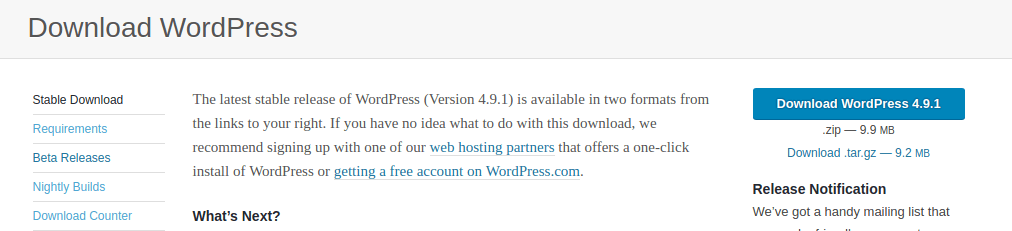
download latest wordpress[/caption]
The wordpress source code will be download as a zip compressed file. Go ahead and extract the zip with your favorite zip extractor.
The files will be extracted in a folder named
wordpress. Change the name of the folder to your desired project name.
Let's call it
myProject for this demo.
Now we need a home for the wordpress source code from where they can be executed. With XAMPP all the PHP source code to be executed goes into the
htdocs directory.
Move your downloaded wordpress folder (
myProject) to
/opt/lampp/htdocs directory
XAMPP Virtual Host Configuration
Let's go ahead and create a Virtual Host for the Wordpress Site, Before we start with the wordpress installation in our browser.
Open file
/opt/lampp/etc/extra/httpd-vhost.conf and add the following virtual host entry into the file.
<VirtualHost myproject.local:80>
  DocumentRoot "/opt/lampp/htdocs/myProject"
  ServerAdmin myproject.local
  <Directory "/opt/lampp/htdocs/myProject">
        Options Indexes FollowSymLinks
        AllowOverride All
        Require all granted
  </Directory>
</VirtualHost>
Notice the above VirtualHost entry. We are adding a new host
myproject.local in the virtualHost and we will access the directory
/opt/lampp/htdocs/myProject with it.
You can modify these two according to the name of the domain you want to access your local wordpress site with, and the folder name in which you kept the wordpress code.
Now open file
/etc/hosts and add following entry into it.
127.0.0.1 myproject.local
/etc/hosts file translate our domain names to IP address. Thus when we enter myproject.local in our browser it will get the connect to the local IP address
127.0.0.1 on which your XAMPP apache server is running
That's all is required to start executing Wordpress code on your localhost via XAMPP.
Just couple of steps more before you can begin working with Wordpress.
Create Database
As wordpress installation will ask us for the database details where it will generate the initial tables and data. Let's create a new database on our mysql
Open localhost/phpmyadmin and visit Databases tab.
[caption id="attachment_1141" align="aligncenter" width="577"]
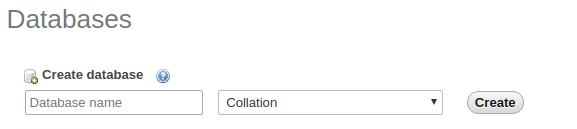
create database xampp phpmyadmin[/caption]
Create a database with your desired named. Let's call it
myProject for this demonstration.
Keep the database details with you (database name, mysql username and password), We will use this database details in our wordpress installation
Install Wordpress
Open
myproject.local in your browser, It should start the wordpress installation for you.
You should see the following page.
[caption id="attachment_1142" align="aligncenter" width="975"]
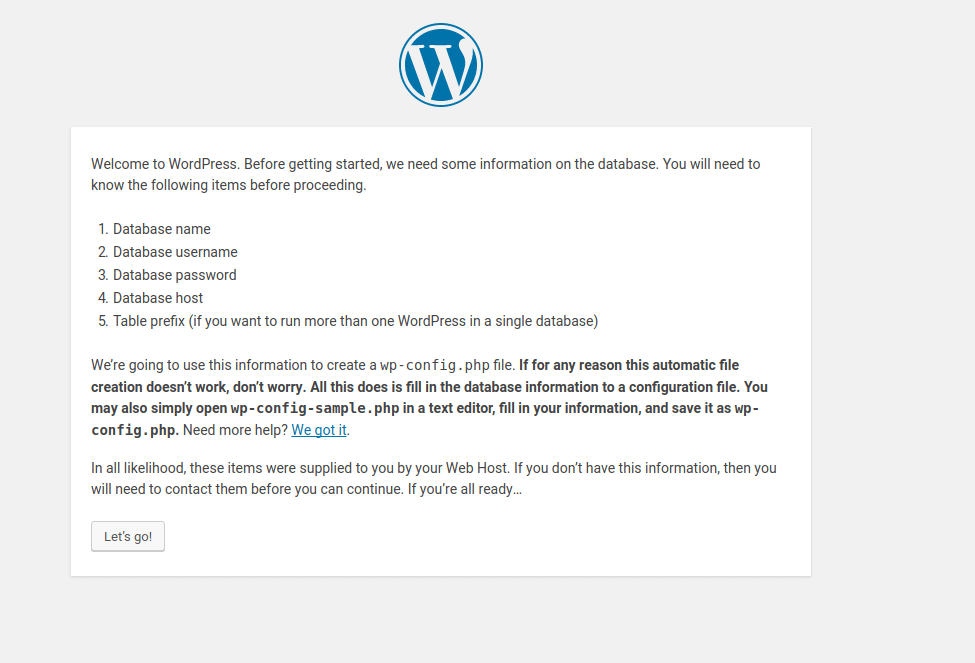
wordpress installation Step 1[/caption]
Click
Let's go.
In the next step wordpress will ask you enter the database details. Enter the following details.
- Database Name (myProject which we created in the last step)
- Username ( your mysql username , default is root)
- Password ( your mysql password, leave blank for default)
- Database host (localhost)
- Table Prefix (wp_ )
Click
Submit
Note: As the next step wordpress tries to create a wp-config.php file in your wordpress directory where it keeps all the database details you just submitted.
If there are directory permission restrictions, Wordpress won't be able to create the file by its own and will present you with this page.
[caption id="attachment_1144" align="aligncenter" width="887"]
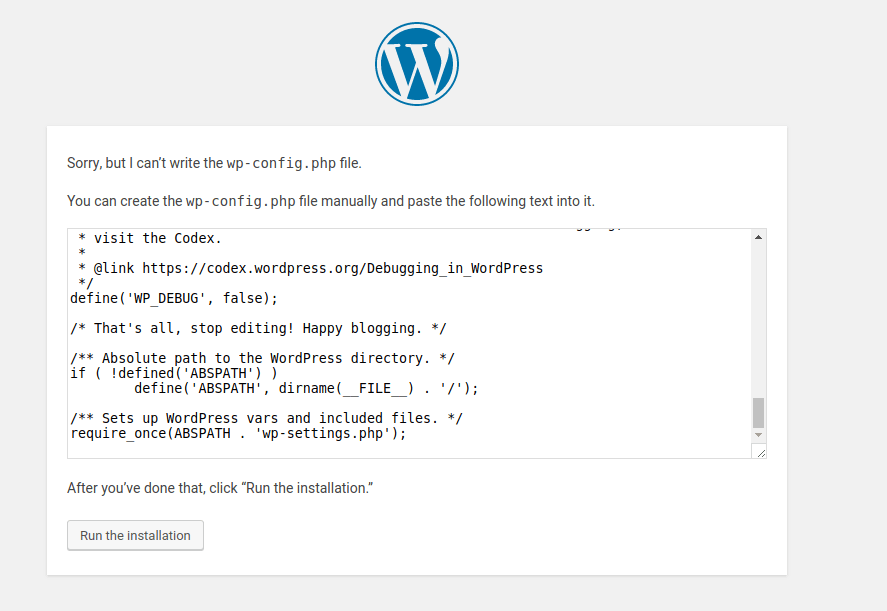
Wp create wp-config.php file[/caption]
Go to folder
/opt/lampp/htdocs/myProject/ and create a new blank file named wp-config.php and put the contents given by wordpress.
Now Click
Run the Installation
Next, wordpress will present you with this page.
[caption id="attachment_1145" align="aligncenter" width="978"]
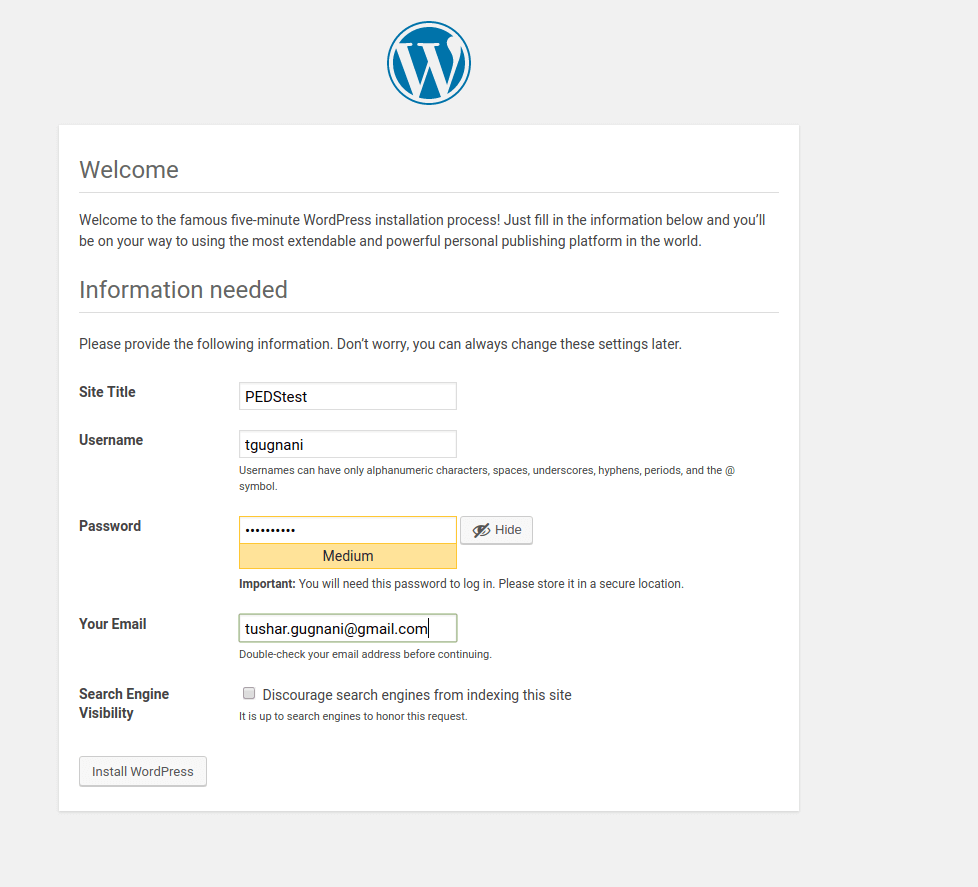
WordPress Welcome, Enter site details[/caption]
Enter your website name, Username and Password for your wordpress admin section and email address.
And Click on
Install Wordpress
There you go ! Installation will now be completed and you should be able to access the wordpress home page as well should be able to login to wordpress admin page.
[caption id="attachment_1146" align="aligncenter" width="1025"]
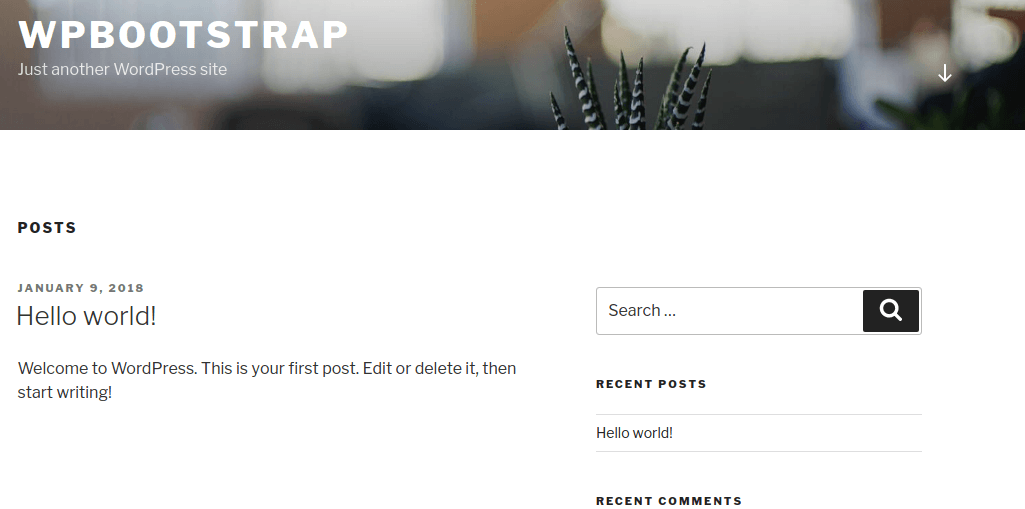
Wordpress default home page[/caption]
[caption id="attachment_1147" align="aligncenter" width="815"]
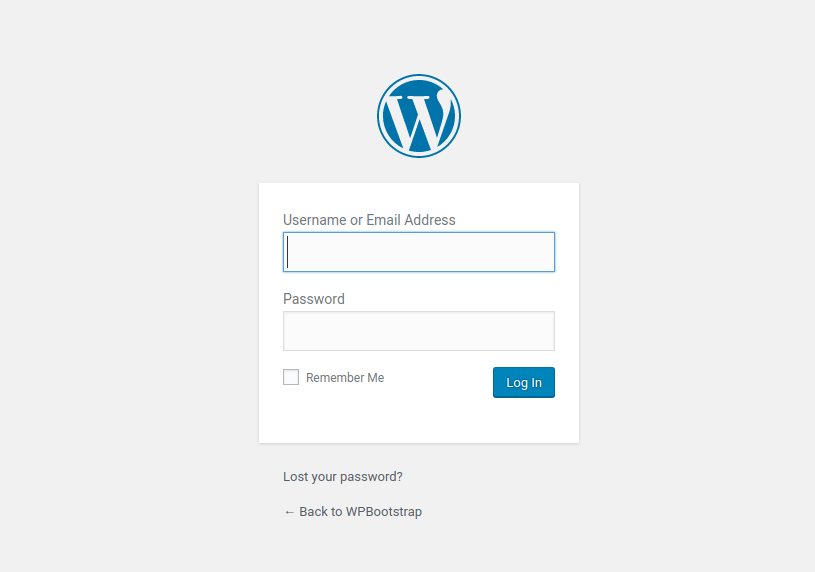
Wordpress Admin Login Page[/caption]