Live Wordpress Site to Localhost
This is a detailed step by step tutorial on how to move your live wordpress site to localhost.When I started blogging, I had least amount of Wordpress knowledge. Thus to setup a wordpress site I signed up for a cPanel hosting service and directly spinned up my server with latest wordpress installation, selected a good looking theme and started writing blog posts. As I started learning more about wordpress and I realized that there are many things to experiment with in this framework. Thus, there was a need to Migrate and setup my Hosted Live Wordpress Site to Localhost. If you have a wordpress hosted site, you can do a lot of thing there itself, like changing themes, writing more content etc. But if you are looking to experiment more like creating a new theme, or experiment with some plugin, Then it's always a good idea to setup your site on localhost and once you are done with development, move changes to hosted or production website. Following are the Steps to Move Live Wordpress Site to Localhost
Step 1 : Download Wordpress Files via File Manager / FTP
There are two ways to download your wordpress files from the server. Either from cPanel File Manager or using FTP client. File Manager worked for me better, since it took less time to download the entire website files and folders. Login to your hosting cPanel and select File Manager.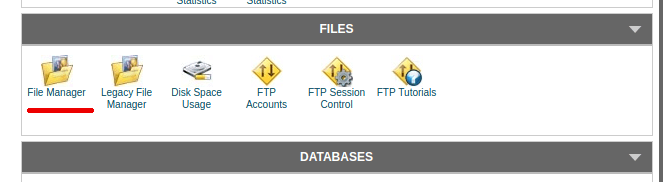 Once, you are into the File Manager, Look for the public_html folder. This folder might be in your File Manager root directory or one folder up of your default File Manager directory.
Right click on the public_html folder, and choose Compress
Once, you are into the File Manager, Look for the public_html folder. This folder might be in your File Manager root directory or one folder up of your default File Manager directory.
Right click on the public_html folder, and choose Compress
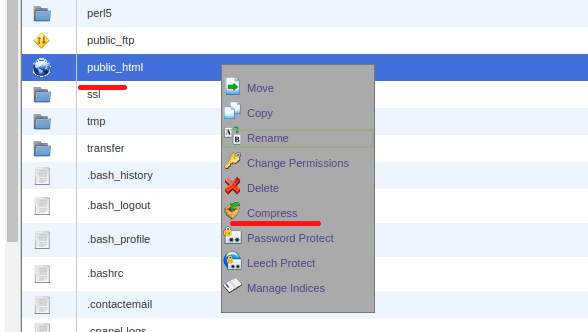 This will create a new compressed file public_html.zip in the same directory. Right click on the zip file and select Download
 If you don't have access to File Manager, You can choose to download the files through FTP. Open your FTP Client (FileZilla or any other), Enter your FTP Credentials and download the public_html folder from it.
Step 2 : Export Live Website Database
Login to your hosting cPanel, and select phpMyAdmin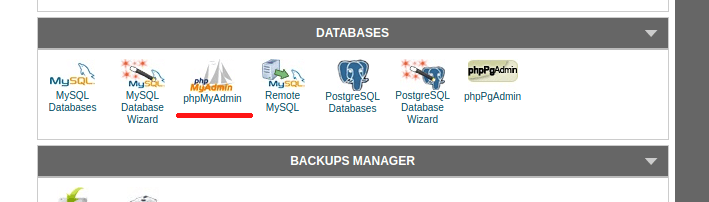 Once you are into phpMyAdmin, select your wordpress live site database from the left navigation.
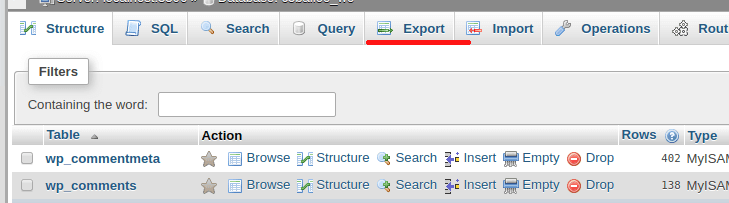
Choose the Export option from top Navigation menu.
Once you are into phpMyAdmin, select your wordpress live site database from the left navigation.
Choose the Export option from top Navigation menu.
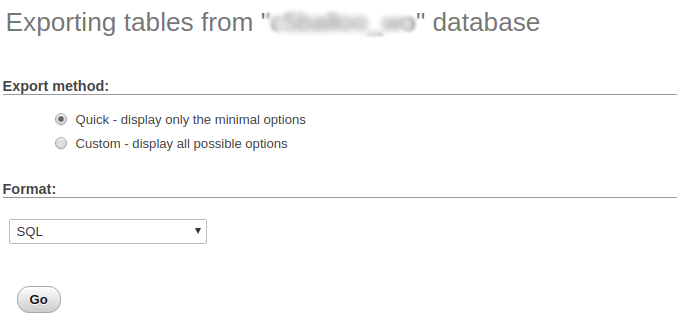
 In the export screen, leave the default option as they are
Export Method : Quick
Format : SQL
In the export screen, leave the default option as they are
Export Method : Quick
Format : SQL
 Click Go, This will download the sql file of entire wordpress live site database on your local system. Keep this sql file handy, we will use this in the next step.
Step 3 : Create New Database and Import
Go to your localhost phpmyadmin (http://localhost/phpmyadmin) and choose Database option from top Navigation option. You should see a text box to create a new database. Enter your desired database name and hit create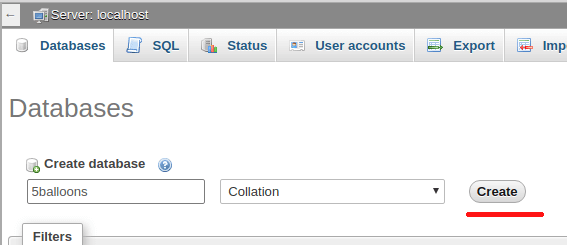 Once you click create, a new blank database will be created in your local mysql database. Now it's time to import the exported sql file from the last step, into this newly created database.
Go to your new database in localhost and choose Import from top Navigation option. You should see an option of selecting a file to import from (Choose File) .
Once you click create, a new blank database will be created in your local mysql database. Now it's time to import the exported sql file from the last step, into this newly created database.
Go to your new database in localhost and choose Import from top Navigation option. You should see an option of selecting a file to import from (Choose File) .
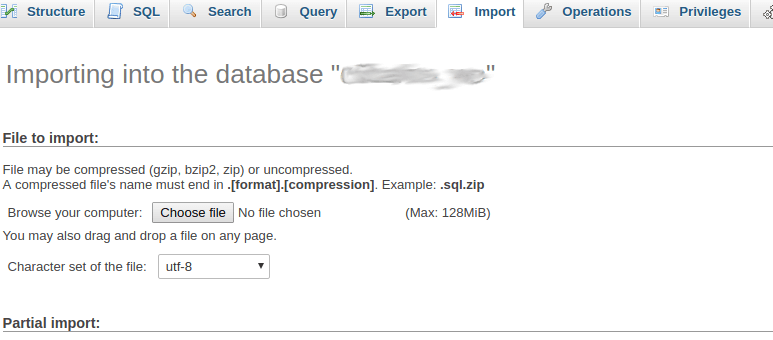 Click Choose File and Select the Exported sql file, which we exported in our last step. Leave all the default option as it is and Click Go on the bottom of the page.
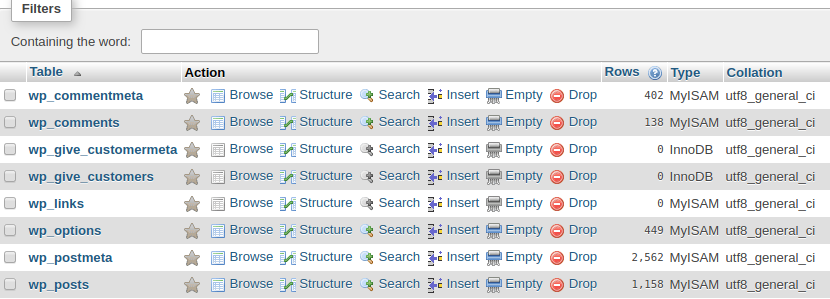
It will take a few seconds for importing, depending upon the size of your live wordpress database. Once the importing is completed you will be redirected to the database page which shows all the tables migrated into your localhost mysql.
Click Choose File and Select the Exported sql file, which we exported in our last step. Leave all the default option as it is and Click Go on the bottom of the page.
It will take a few seconds for importing, depending upon the size of your live wordpress database. Once the importing is completed you will be redirected to the database page which shows all the tables migrated into your localhost mysql.
Step 4 : Replace Live Site Url with Local Site URL in database
As we have uploaded our Wordpress Live site database into localhost. There is still one task pending in this database to make it work on localhost. We have to change all the references of live site domain in the database to local site domain. Since I am using virtualhost entry for my localhost as 5balloons.local. I have to change all the references to https://5balloons.info in the database to http://5balloons.local. If you are not using virtualhost and are looking to access your local wordpress site directly via http://localhost, You need to replace the reference of live site domain with http://localhost Following are the queries which you need to run to make these changes.UPDATE wp_options SET option_value = replace(option_value, 'http://www.yoursitename.com', 'http://localhost') WHERE option_name = 'home' OR option_name = 'siteurl';
UPDATE wp_posts SET post_content = replace(post_content, 'http://www.yoursitename.com', 'http://localhost');
UPDATE wp_postmeta SET meta_value = replace(meta_value,'http://www.yoursitename.com','http://localhost');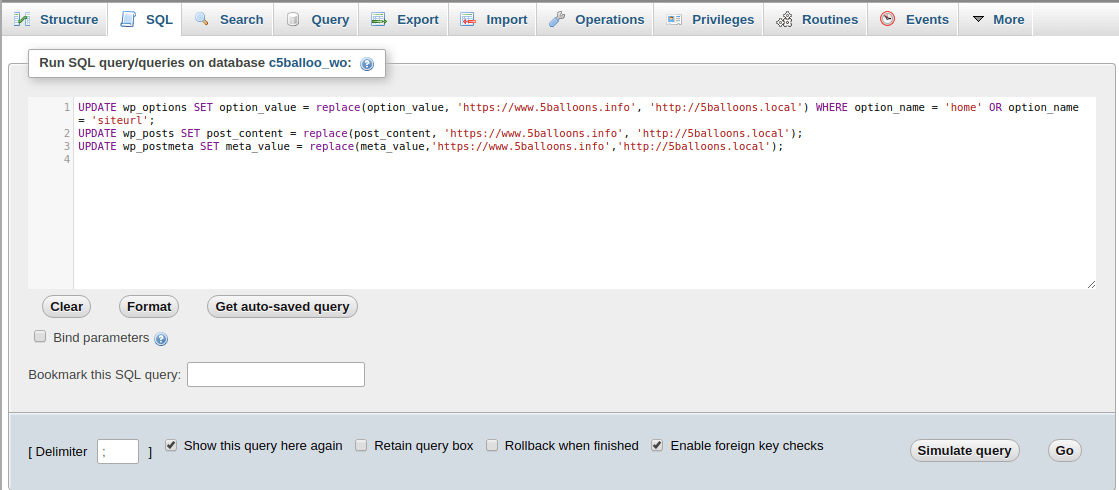 Click Go to execute the queries.
Note:
Click Go to execute the queries.
Note:
- Make sure to use https instead of http, if you are using SSL on your live wordpress site.
- Localhost URL should be http://localhost or http://virtual-domain-name
Step 5 : Host Wordpress Files to Local Server
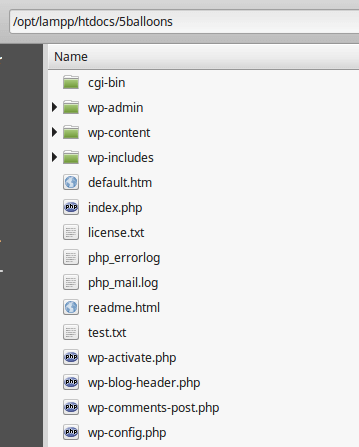
In this step we will host our live wordpress site files on our local server. Note: This step is as per setting up files in XAMPP on my linux machine. If you are working on Windows or MAC, or are using MAMP or some other server. The step will be mostly similar. I will demonstrate this step, so that you can access the wordpress website on your local machine with a virtual host. With this you can have multiple websites in the single server. Unzip the public_html.zip file, and copy public_html folder. Copy and Paste it into htdocs directory of your XAMPP server located at/opt/lampp/htdocs
Rename the directory name from public_html to the name of your project, I am renaming mine to 5balloons.
 Let's configure the virtual host file. Open httpd-vhosts.conf file located at
 /opt/lampp/etc/extra directory, and add the following virtual host entry in it.
<VirtualHost 5balloons.local:80>
  DocumentRoot "/opt/lampp/htdocs/5balloons"
  ServerAdmin 5balloons.local
  <Directory "/opt/lampp/htdocs/5balloons">
        Options Indexes FollowSymLinks
        AllowOverride All
        Require all granted
  </Directory>
</VirtualHost>
127.0.0.1 5balloons.localStep 6 :Configure database changes in wp-config.php
We are almost there.. In this step, we will connect the wordpress local site with the database we created on our localhost. Open your wp-config.php file, located at the wordpress site root directory and change the following contents accordingly.// ** MySQL settings - You can get this info from your web host ** //
/** The name of the database for WordPress */
define('DB_NAME', 'your_local_db_name);
/** MySQL database username */
define('DB_USER', 'your_local_user');
/** MySQL database password */
define('DB_PASSWORD', 'password');
/** MySQL hostname */
define('DB_HOST', 'localhost');
/** Database Charset to use in creating database tables. */
define('DB_CHARSET', 'utf8');
/** The Database Collate type. Don't change this if in doubt. */
define('DB_COLLATE', '');Step 7 : Test the Wordpress Localhost Website.
Hit the localhost url or the virtual-domain url on your browser, you should see the wordpress site successfully migrated. Test the following things to make sure the migration is successful.- Home Page.
- Image URL Testing.
- Page and Post URL's
- Admin Login